Give your customers a simple, secure way to sign in to your Whitelabel with their Microsoft work, school, or personal account. Also, creating your own Microsoft app is required if you want to use the Outlook Calendar integration on your Whitelabel.
Create a Microsoft Azure account.
Create your free Azure account.
Register an application with the Microsoft Identity platform
Follow these steps to create the app registration:
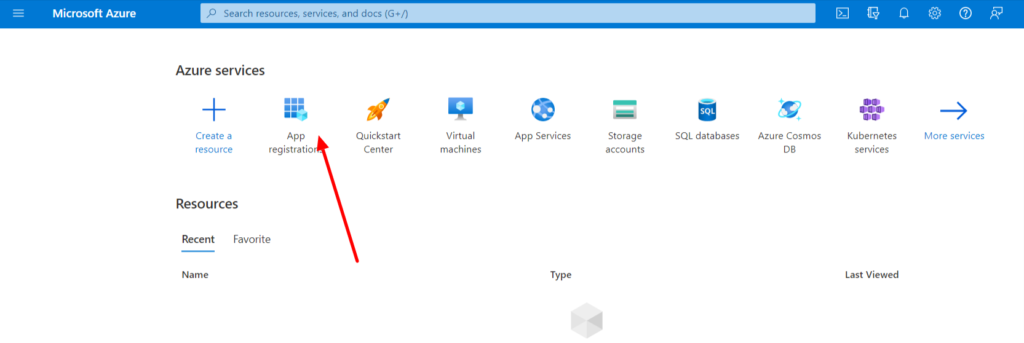
1 – Sign in to the Azure portal.
2 – Click on App registrations
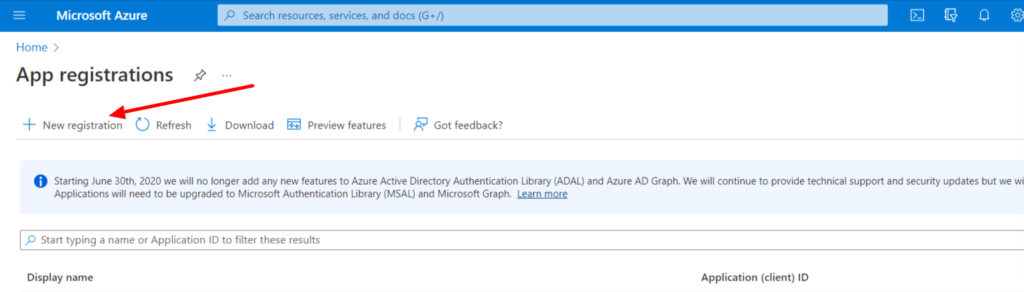
3 – Click the New registration button
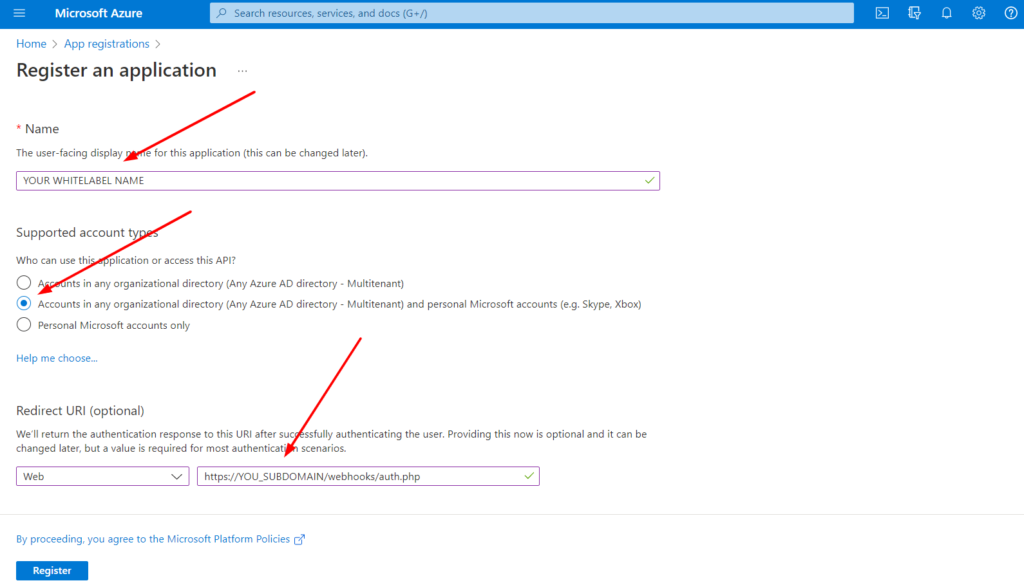
4 – On the screen to register your application, specify your Whitelabel name. The redirect URI is https://YOU_SUBDOMAIN/webhooks/auth.php
If your subdomain is app.example.com, the redirect URI will be https://app.example.com/webhooks/auth.php
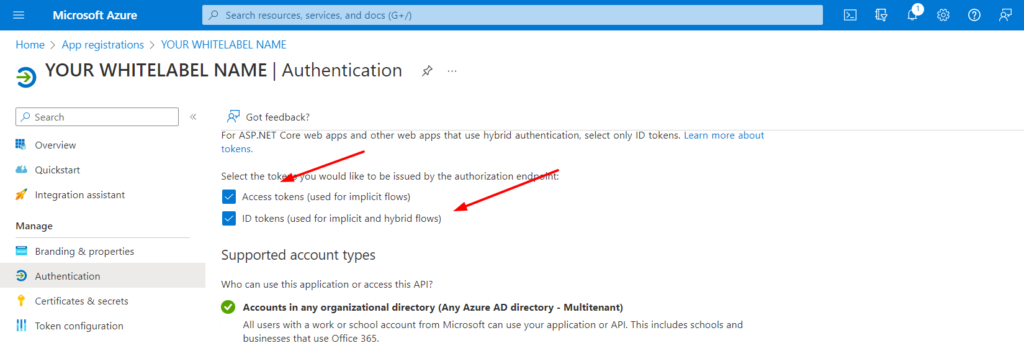
5 – Go to Authentication and enable the option Access tokens and ID tokens like in the below image.
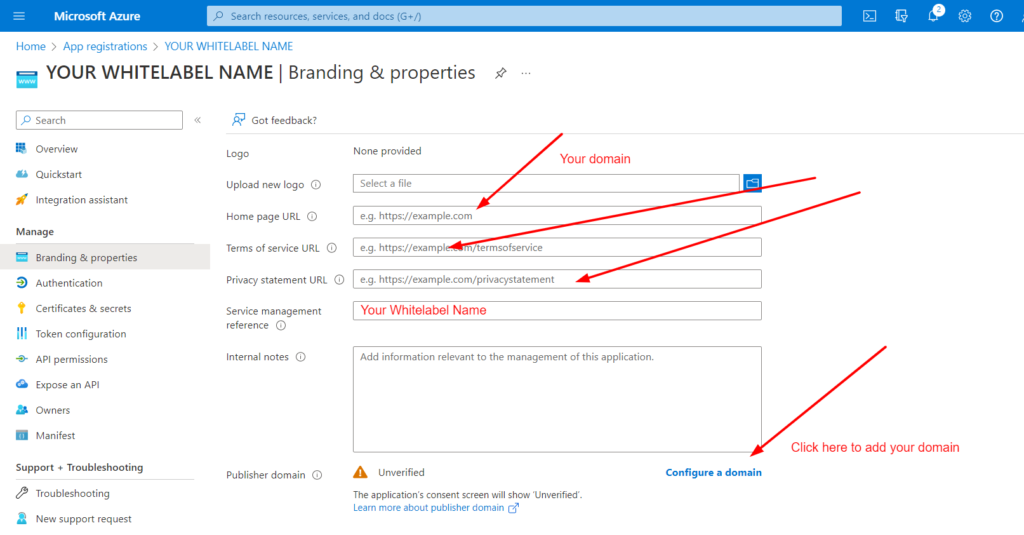
6 – Verify your domain (optional)
Please be aware that you don’t need to verify your subdomain. Your only need to verify your domain.
This step is optional but highly recommended because if you don’t verify your domain, your users will see an “Unverified” message when they try to log in to your Whitelabel.
Click Configure a domain and follow the instructions.
Connect your Microsoft app to your Whitelabel
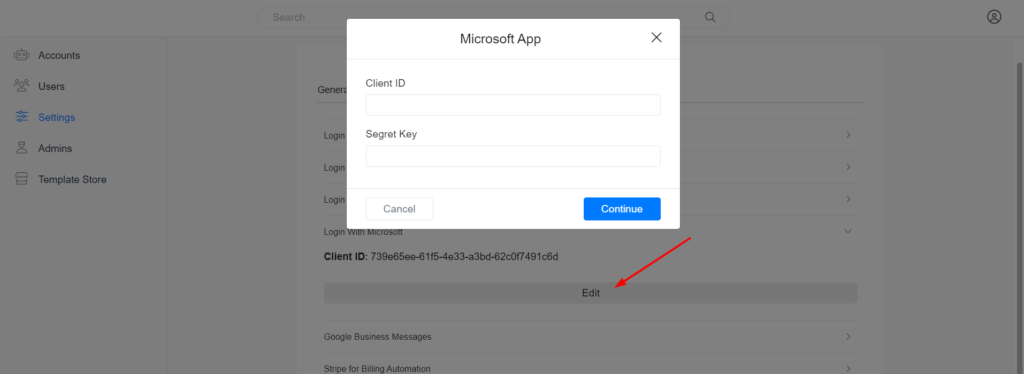
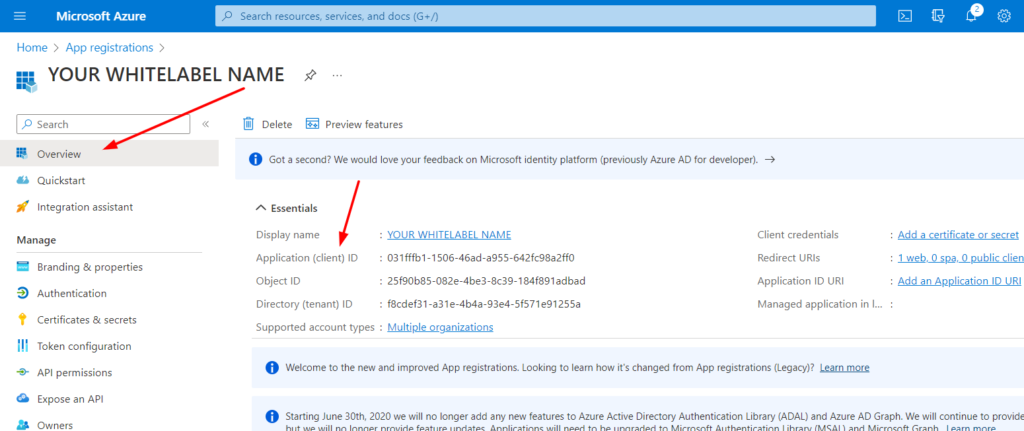
You must get the Application (client) ID and Secret to connect your App to your Whitelabel.
You can get the Client ID by going to the Overview page.
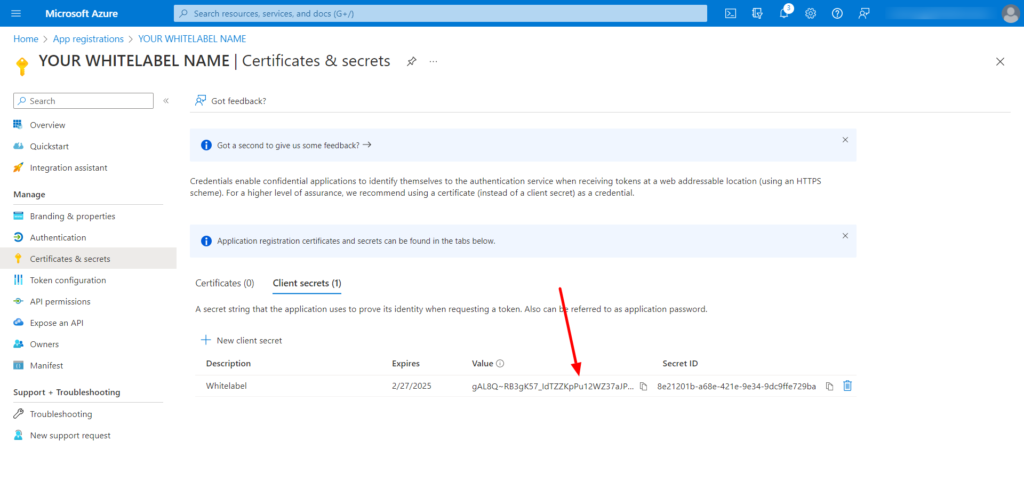
You can get the Secret by going to the Certificates & secrets page. Copy the After you create the secret,
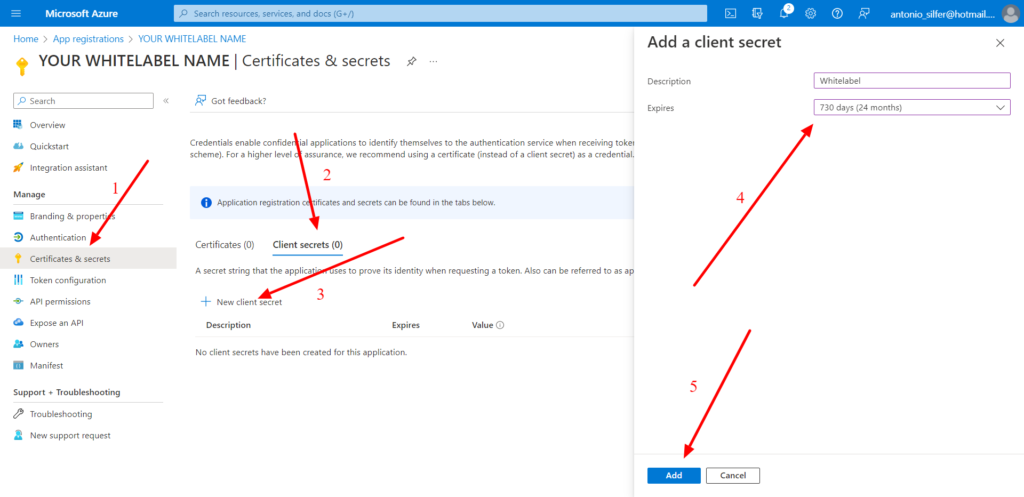
Copy the secret value immediatily after it was created becasue Microsoft will not show the value again.
Go to your Whitelabel Admin dashboard > Settings > Integrations > Login with Microsoft and click the Edit button.